Tuna Rice Balls Everything You Need to Know
When it comes to making something extraordinary, tuna rice balls or tuna onigiri come out trumps. There is so much ease in these two dishes that makes me enjoy them each time; cooked sticky rice well molded to enclose a flavorful and soft tuna paste, topped with a thin layer of seaweed for that extra metallic bite. They can be prepared quickly before a meal, at a snack, or even brewed to match the kind of mood you may be in. You can go from the traditional soy and mayo, the spicy milky, and a touch of sriracha, and then branch off as you desire.
Still, what makes them even better is their portability and convenience for use. Whether for lunch, a snack, or simply entertaining, tuna rice balls can’t be beaten. And though they seem rather complicated they are surprisingly easy to prepare – transforming ordinary ingredients into something extraordinary. To me, they are not only what we call a dish but one of the dishes I will always enjoy whenever.
Everything You Need to Know About Tuna Rice Balls
That is why tuna rice balls, or as I like to call them tuna onigiri, are one of my favorite kinds of foods. Picture this: a piece of perfectly seasoned tuna literally wrapped inside a ball (or triangle if you prefer) of sticky rice and then another outer layer of crispy seaweed. In its current conception, the juxtaposition of both textures and taste sensations is just right each time.
What makes them even more fascinating is history. Sushi rice balls have been around as a staple part of Japanese tradition for as long as culinary historians can remember, from when they were a convenient and filling hand-held snack for farmers, travelers, and even some samurai! Or just open a rice ball as a snack when they are feeling hungry or want to grab something while en route? In today’s world, they are abundant in Japan and can be found in local convenience stores and well-fledged restaurants.
Why Tuna Rice Balls Are Popular:
It is more about how they can tick all the boxes. They are easy to prepare, suitable in many ways, good for your body, and have this incredible flair that only makes them even better.
- Convenience first. Whether I’m running out the door or packing a lunch box, tuna rice balls are always the go-to snack. They’re so easy to eat with no utensils—just unwrap and bite. It’s like the original fast food, but way healthier.
- Then there are the flavor options. You can dress them up or keep them simple. Sometimes I’ll stick with soy and mayo for that classic savory taste. Other times I’ll add sriracha for heat or sesame seeds for a nutty kick. There are so many ways to modify the recipe and it never gets old.
- And don’t forget how healthy they are. Tuna is protein so it keeps you full and energized. Add rice for slow energy release and you’ve got a snack that powers your day.
Finally, I love the cultural vibe of tuna rice balls. They’re from traditional Japanese cuisine but with a modern twist that makes them global. It feels like I’m getting a taste of something real but it fits into my modern life.
What Are Tuna Rice Balls?
Tuna rice balls are one of my favorite onigiri variations. This Japanese classic has a long history, dating back to the Heian period (794–1185). Originally these rice balls were all about practicality—portable, compact meals that could be eaten on the go. It’s genius.
The combination of soft, slightly sticky rice and savory tuna is a winner. For me, it’s the perfect balance of flavors and textures—simple, satisfying, and endless. Whether as a quick snack, easy lunch, or unique party dish, tuna rice balls fit every occasion and never go out of style.
Origin of Rice Balls (Onigiri)
Rice balls, or onigiri, have always been about being practical, and the story behind how they started grabs my attention. Think about samurai carrying these easy-to-eat meals into fights wrapped in bamboo leaves to keep them good. They didn’t need any tools—just a handful of rice and maybe something salty inside to keep them going. That’s how Onigiri began, but they’ve changed a lot since then. These days, you can find them everywhere, from corner stores to fancy sushi places, and people all over the world love to put them in their lunch boxes and bento meals. Tuna rice balls put a fun spin on this old idea. Japan didn’t even have canned tuna until the middle of the 1900s, but once it showed up, it changed how people thought about protein. Tuna was cheap, easy to get, and simple to mix with basics like soy sauce and mayo. That mix is smart, if you ask me—it’s savory, creamy, and full of taste. This simple addition to the onigiri family has become one of the most liked versions bringing together old and new. It shows that even the oldest dishes can change and do well in new ways.
Key Components of Tuna Rice Balls
- Rice
- Rice is the heart of any tasty rice ball. I can’t stress this enough—picking the right rice type has a big effect on the result. In my view, short-grain or sushi rice is the best choice. Its sticky nature helps keep everything together making sure your rice ball doesn’t crumble when you pick it up. I’ve tried other rice types before, like long-grain or jasmine, but they don’t stick enough to form that classic shape. Sushi rice though, lets you mold it into a perfect ball or triangle without much trouble. Plus, it has a light sweetness and flavor that goes well with the fillings. Trust me—start with the right rice, and you’re halfway to making the best tuna rice ball.
- Tuna
- You can keep tuna fillings plain or get all fancy with them. It’s cool that you take plain ol’ canned tuna, throw in a bit of soy sauce, and bam – you’ve got this yummy savory taste. It’s super quick and simple but still packs a flavor punch. When I’m craving something with more creaminess or a kick, I just stir in some mayo, a squirt of sriracha, or a dab of wasabi to switch things up. Seared fresh tuna transforms the game. It takes the rice ball to a new level making it as if you’ve just walked into a posh sushi spot. Keep it plain or doll it up; the choice of tuna stuffing is your chance to make these rice balls your own and give them a serious lift.
- Seasonings and Toppings
- Spicing up tuna rice balls is wicked fun. I dig into a dash of soy sauce to get that deep umami taste, a tad of salt to tie it all up, and if I’m in the mood, a smidge of wasabi for some heat. And oh, can’t forget sesame oil. It’s my undercover go-to for a lush, nutty kick that elevates things.
- As for what I throw on top, sesame seeds are the bomb. They give a cool crunch and amp up the taste with their toasted vibe. Scallions? Yeah, they toss in a zesty sharp snap that slices right through the hearty tuna. When I wanna go all out, I jazz it all up with some furikake. That stuff is the bomb for making the rice balls taste super savory.
- In my opinion, you gotta have Nori. Those seaweed sheets do more than just keep things together; they add a hint of that ocean taste and just the right snap which completes the rice balls. It’s putting all these bits together that makes munching on a tuna rice ball super gratifying.
A few months ago, my husband and I went to Rodeo 39 Public Market in Stanton, Ca. Just imagine a big food hall with a ton of different food and beverage vendors. It was foodie heaven! Amongst the matcha lattes from Coffee Dose and mochi donuts that we tried, we made sure to save room for some Japanese onigiri (rice balls) from one of the food vendors, Tenori. We tried their pork belly, salmon, and tuna rice balls. The tuna mayo onigiri was our favorite!
Toward the end of my pregnancy, I found myself REALLY craving an easy snack like spicy tuna onigiri but the last thing I wanted to do was drive an hour away to purchase them from Tenori. I told my husband that I’d try my hand at making homemade onigiri for us to enjoy. The filling is pretty simple and consists of a can of tuna, mayo, soy sauce, and sriracha if you’re feeling spicy.
These tuna rice balls can be enjoyed as a portable snack for road trips, appetizers, a side dish, or an easy meal.
Ingredients
Below, are the simple ingredients you’ll need to make your tuna mayo rice balls:

- Room-temperature white rice
- Canned tuna
- Mayonnaise
- Soy sauce
- Sesame oil
- Salt
- Black sesame seeds (optional)
See the recipe card for quantities.
Assembling Tuna Rice Balls
Below, are a few process shots along with step-by-step instructions. Please reach out or comment if anything seems unclear or if you need any help.

1. Drain tuna then empty the can into a large bowl. Mix tuna with soy sauce and mayonnaise. Set aside.
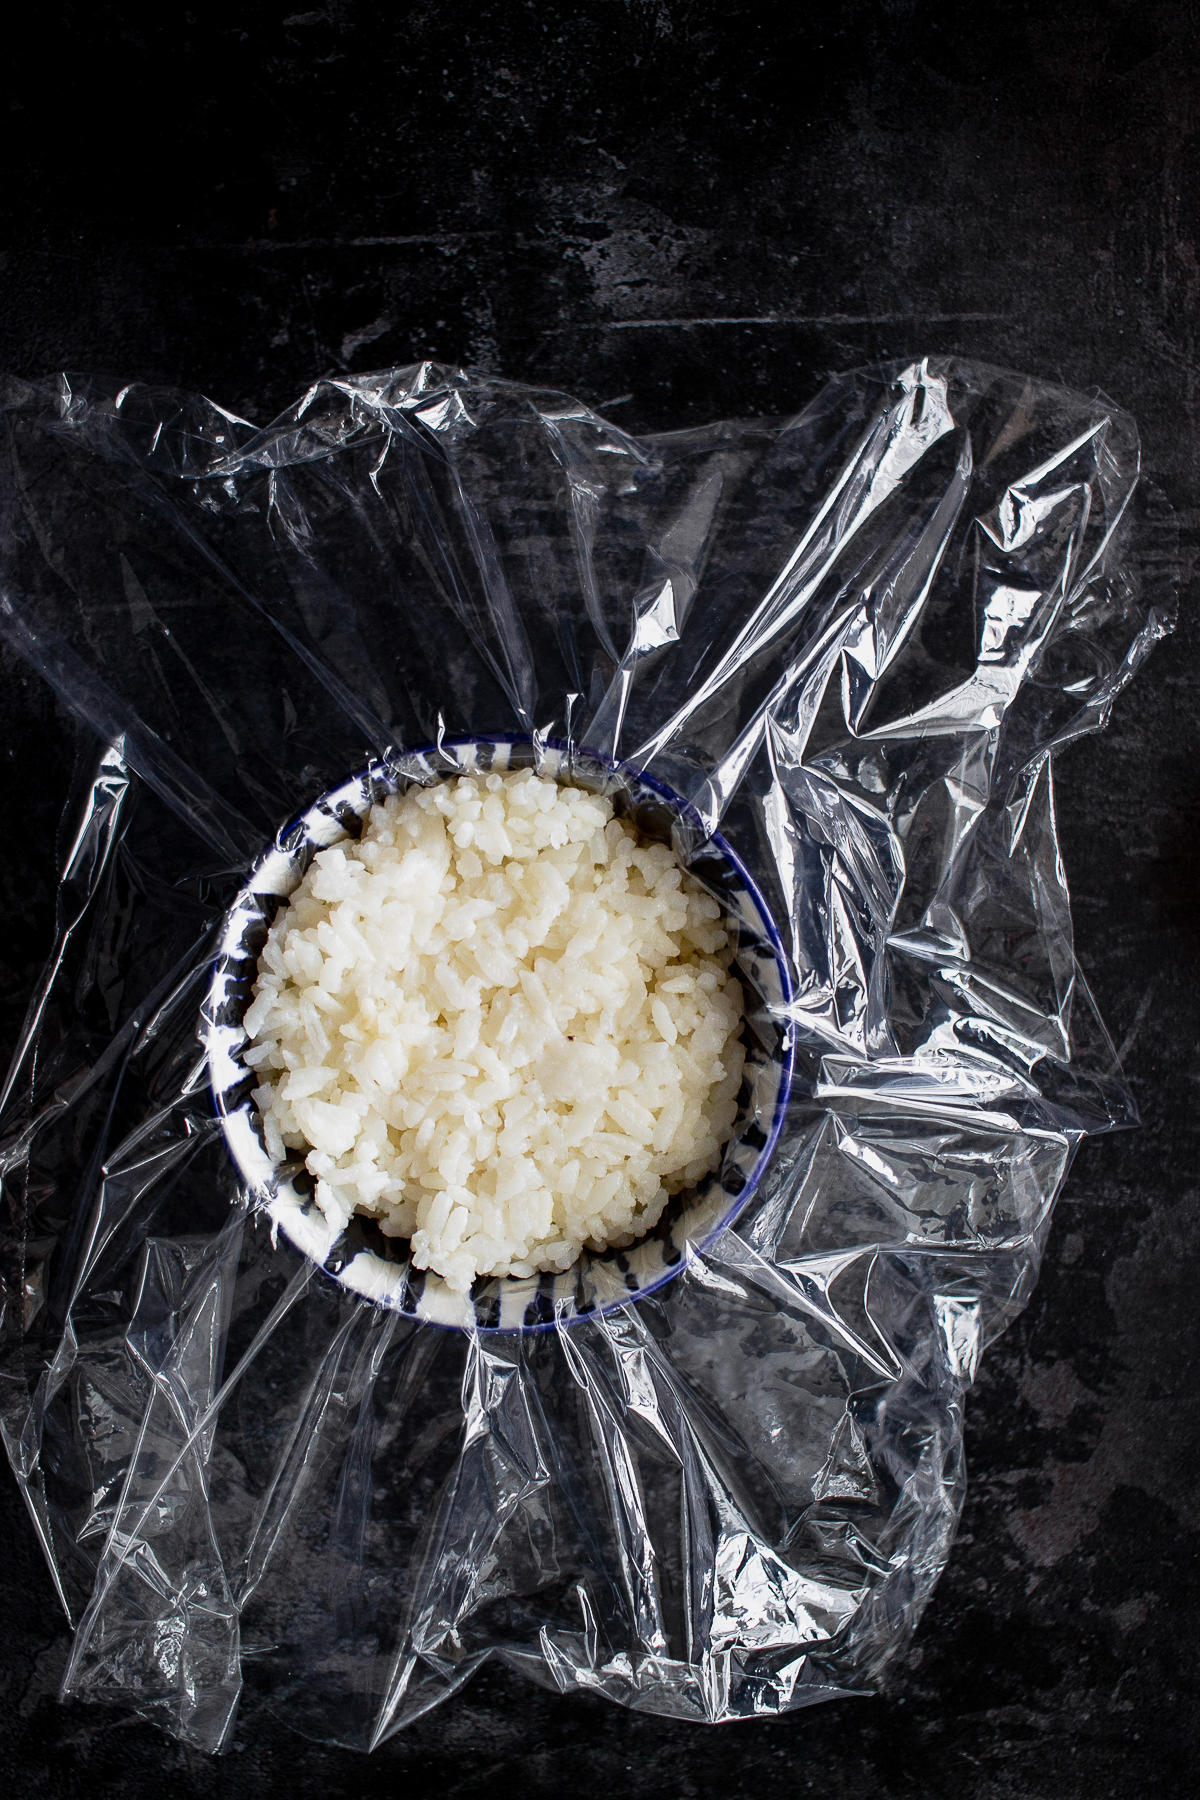
2. In another bowl, add your cooked rice, sesame oil, and salt. Combine with a rice paddle. Place a piece of cling film over a small bowl and fill it with the rice mixture. Remove the piece of plastic wrap from the bowl and twist it into a ball.

3. Next, you’ll want to flatten the rice ball a bit. Add about a tablespoon worth of filling to the center of the flattened rice ball.

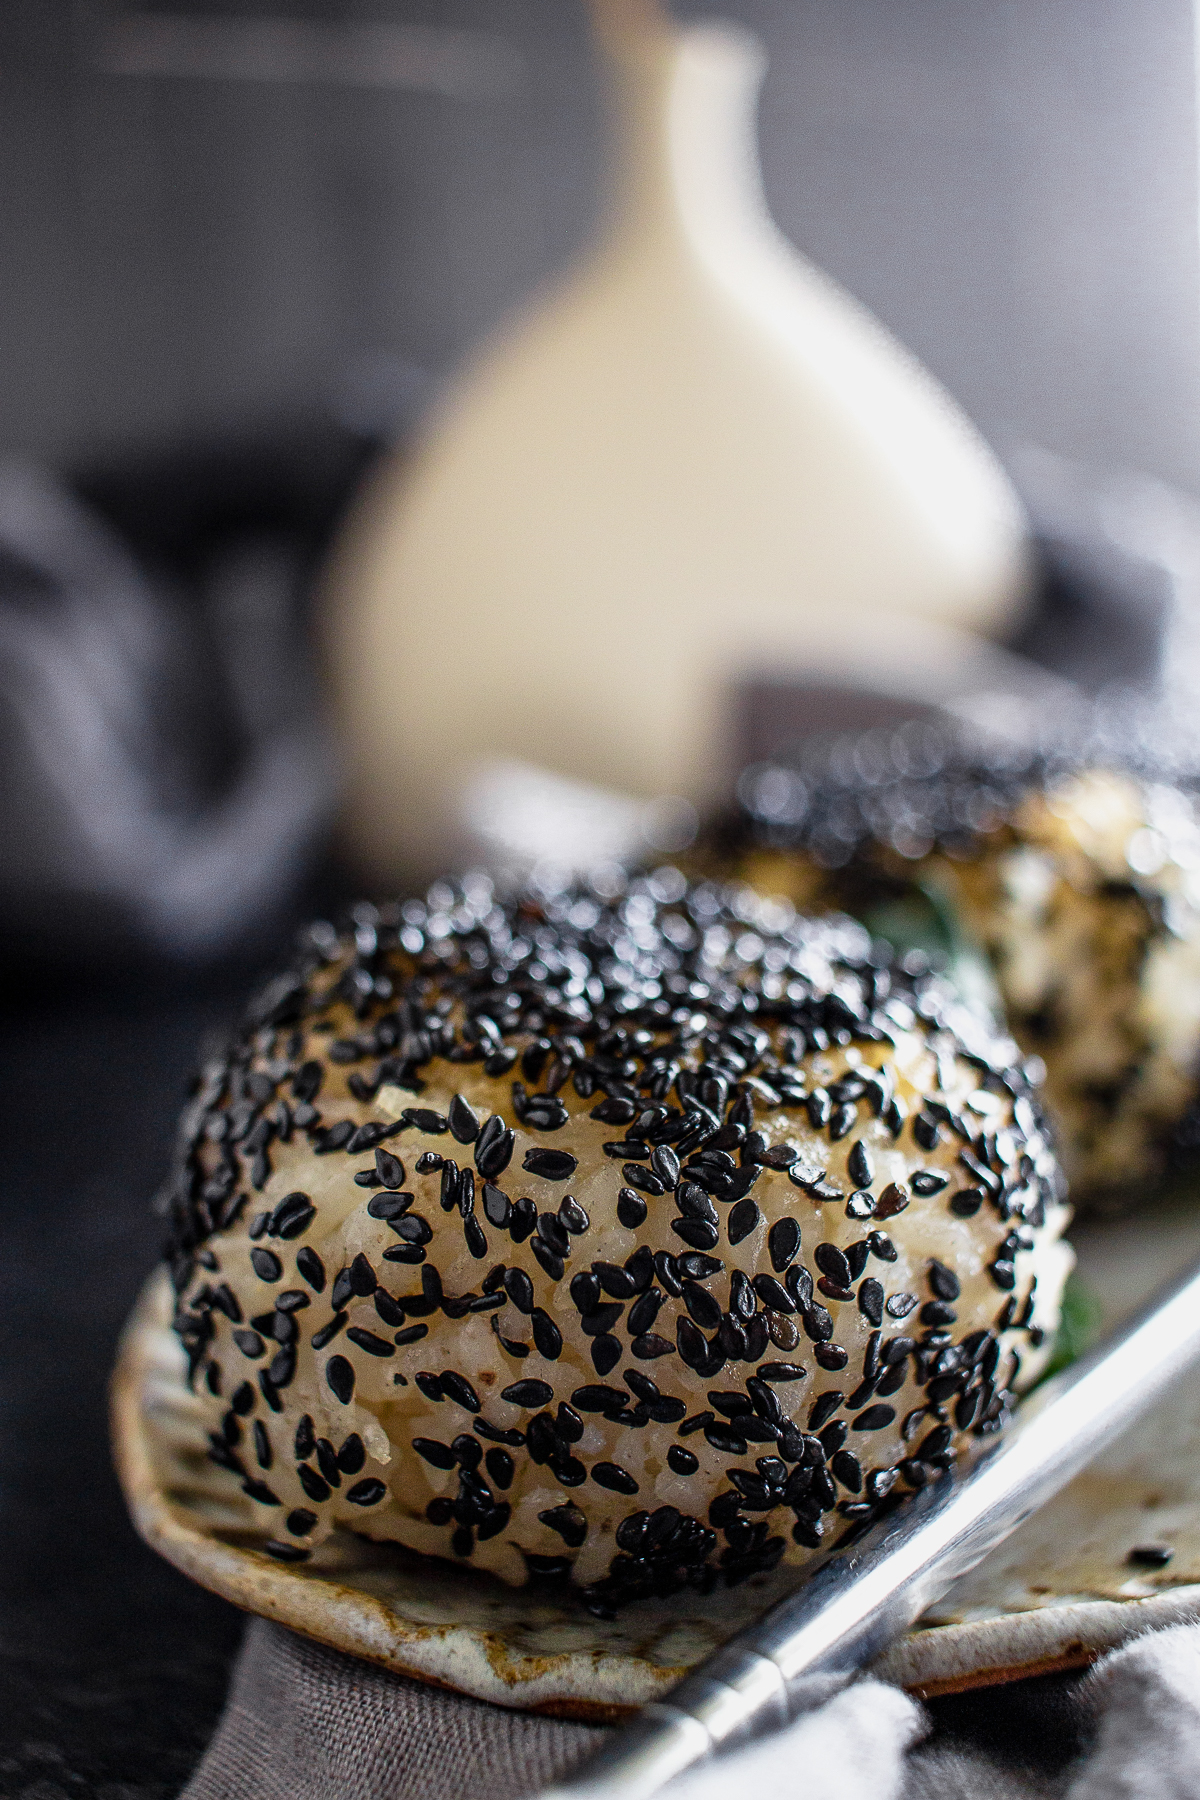
4. Gather all the edges of the plastic wrap together and twist and form into a ball again. Repeat this process four more times. Optional: roll rice balls in a dish filled with black sesame seeds before pan frying.
Hint: do not smash rice balls down with a spatula when pan-frying them. Doing so may cause them to crumble and start falling apart.
Substitutions
- Tuna – instead of a tuna filling, you can use fresh fish, pork belly, spam, cod roe, or any other protein of choice.
- Pan Fry – you can simply eat the rice balls as is if you prefer to skip the pan frying step.
- Regular Mayo – instead of using regular mayonnaise, you can use kewpie mayo which is a Japanese mayonnaise. You can find it at local Asian grocery stores.
- Black Sesame Seeds – instead of rolling rice balls in sesame seeds, you can roll it in seaweed flakes or wrap it in a sheet of nori.
Variations
Below, are a few variations to consider for yourself or if serving to guests:
- Vegetarian – you can swap out tuna for other onigiri fillings like pickled veggies and/or tofu.
- Kid Friendly – skip adding any sriracha to the filling if serving to children (unless they can handle the heat!)
- Different Fillings – get creative and add other ingredients like green onions to your tuna mixture.
- Triangle Shape Onigiri – you can use an onigiri mold to create onigiri in the shape of a triangle like the image below.

Tips for Perfect Tuna Rice Balls Every Time
Here are a few tips I’ve picked up to make sure your tuna rice balls turn out just right:
- Choose the Right Rice: It’s all about short-grain rice. This type of rice is perfect for holding everything together with its sticky texture. Avoid using long-grain rice—it just won’t stick and your rice balls will fall apart.
- Prevent Sticking: Rice can be a little tricky to handle, so I always wet my hands with water or use plastic wrap to shape them. This way, the rice doesn’t stick to my hands, and the whole process stays much cleaner.
- Balance Filling and Rice: I’ve learned not to overstuff the rice balls. Too much filling can cause them to fall apart. A spoonful of filling per rice ball usually does the trick!
- Fresh Nori: To keep that nori crispy and fresh, I wrap the rice balls with it just before serving. If you wrap them too early, the seaweed can get soggy, which isn’t as nice to eat.
- Storage Tip: If you’re making them ahead, I recommend wrapping them up tightly in plastic wrap or storing them in an airtight container. They taste best within 24 hours, so try to eat them fresh for that perfect texture and flavor!
Nutritional Information About Tuna Rice Balls
It may come as a surprise that the consumption of tuna rice balls, for instance, is not only delicious but fairly healthy as well. They incorporate carbohydrates in the form of rice and proteins from tinned tuna food plus they are a healthy source of fat making them a good snack or a light meal. Now, let us look at what goes into these delicious cakes nutrition-wise and learn some tips on coming up with even healthier cakes!
General Nutritional Profile
The nutrition in tuna rice balls can vary a bit based on how you make them, like the size, ingredients, and prep method you use. But to give you an idea, here’s an approximate breakdown of one standard tuna rice ball (about 120g):
Here’s a rough idea of the nutrition in one tuna rice ball (120g):
- Calories: Around 210 kcal
- Protein: 10–15g
- Carbohydrates: 25–30g
- Fat: 5–7g
- Sodium: About 300mg
Key Highlights:
Tuna rice balls pack quite the nutritional punch:
- Protein Power: The tuna gives you a solid hit of protein, which is perfect for muscle repair and keeping you full longer.
- Energy from Rice: The carbs in the rice provide that steady energy boost, making them a great option before a workout or as a midday pick-me-up.
- Omega-3 Benefits: If you’re using oil-packed tuna, you get a nice dose of Omega-3 fatty acids, which are awesome for supporting both heart and brain health. It’s a little win-win in each bite!
Tips for Making Healthier Tuna Rice Balls
If you’re looking to make your tuna rice balls a little lighter and more nutritious, here are some simple swaps I like to make:
- Reduce Calories: I swap out oil-packed tuna for water-packed tuna to cut down on fat and calories without losing flavor.
- Opt for Whole Grains: Instead of using white rice, I sometimes go for brown rice or quinoa. They add more fiber and nutrients, making the rice balls even healthier.
- Lower Sodium: I always choose low-sodium soy sauce and make sure I’m not over-salting the rice or tuna filling. This keeps things flavorful but less salty.
- Boost Veggies: Adding finely chopped veggies like carrots, cucumbers, or bell peppers to the filling gives a nice crunch and loads of extra vitamins.
- Control Portion Sizes: Making smaller rice balls can be just as satisfying, and it helps keep your calorie intake in check while still enjoying the flavors you love.
Serving and Pairing Suggestions
Tuna rice balls are delicious on their own, but pairing them with the right sides or drinks can really take your meal to the next level.
How to Serve Tuna Rice Balls
Tuna rice balls are so versatile and can be enjoyed in so many different ways:
- As Snacks: They’re perfect for packed lunches, picnics, or quick bites at the office. Super convenient when you need something satisfying on the go!
- In Bento Boxes: I love adding tuna rice balls to bento boxes along with some pickled vegetables, tamagoyaki (Japanese rolled omelet), and a little fruit. It makes for a well-rounded, colorful meal.
- For Parties: Arrange small tuna rice balls on a platter for fun and easy finger food at any gathering. They’re always a hit because they’re bite-sized and bursting with flavor!
Pairing Tuna Rice Balls with Other Foods
- Dipping Sauces:
- I love using soy sauce or tamari to give that classic, savory flavor. If I’m craving a little extra kick, I’ll go for spicy mayo or wasabi-infused mayo—it really adds a fun twist and amps up the flavor!
- Side Dishes:
- If I’m going for a Japanese-themed meal, I love pairing tuna rice balls with miso soup, seaweed salad, or a side of edamame—it just feels like the perfect combo. But if I want something lighter, I’ll go with a fresh green salad or a simple vegetable soup. Both balance the rice balls nicely without weighing me down!
- Beverages:
For a refreshing, authentic drink, I always go for green tea or iced matcha. It’s the perfect way to cleanse the palate. If I’m in the mood for something a bit more spirited, I’ll have a light sake or sparkling water with a splash of lemon—it’s crisp, refreshing, and a little fancy!
Where to Buy or Find Tuna Rice Balls
If making tuna rice balls at home feels a bit intimidating, no worries! You can find ready-made ones at plenty of places, like convenience stores, supermarkets, or even some sushi spots. They’re a great option when you’re craving them but don’t want to spend the time making them yourself!
Local and International Options
If you’re craving tuna rice balls but don’t feel like making them yourself, there are plenty of places to grab them:
- Japanese Convenience Stores: Chains like 7-Eleven, FamilyMart, and Lawson have tuna rice balls (onigiri) pretty much everywhere in Japan—they’re super easy to grab when you’re on the go!
- Supermarkets: Major grocery stores usually have pre packaged ones in the sushi section, making them easy to pick up on your next shopping trip.
- Restaurants: Many sushi or Japanese restaurants offer freshly made onigiri on their menus, so you can enjoy them with all your favorite Japanese dishes.
- Online Retailers: You can also find pre-wrapped onigiri on platforms like Amazon or specialty Japanese food stores, perfect for a quick delivery if you’re craving them at home.
Conclusion
Japanese rice balls, or onigiri, offer a great solution for transforming a handful of ingredients and leftover rice into a delicious snack that not only satisfies the palate but also provides a taste of authentic Japanese cuisine.
These little treats are ideal for anyone in search of a low-calorie meal or snack but do not want to sacrifice on flavor or quality. Tuna is an excellent source of lean protein and riced cauliflower is low-calorie and wholesome, so the fat from the avocado or the oil used for the tuna makes these rice balls well-rounded.
With homemade tuna rice balls, you’re also participating in a more timeless aspect of Japanese food preparation. So it’s creative to try variations like adding spices, using fresh tuna, or trying out different fillings such as avocado or spicy mayo.
Equipment
- Rice cooker
- Rice paddle or wooden spoon
Storage
These delicious rice balls should be stored properly to maintain their freshness and flavor. Here’s how to store them:
- Wrap in Plastic Wrap: Individually wrap each rice ball tightly in plastic wrap. Make sure the plastic wrap is sealed snugly to prevent air from reaching the rice, which can lead to drying.
- Place in an Airtight Container: After wrapping, store the wrapped rice balls in an airtight container. This extra layer of protection helps maintain their quality and prevents them from absorbing odors from the refrigerator.
- Label and Date: To keep track of their freshness, label the container with the date when you made the rice balls.
- Refrigerate: Store the container in the refrigerator. Onigiri can be refrigerated for up to 1-2 days.
- Avoid Freezing: It’s generally not recommended to freeze tuna rice balls. Freezing can change the texture and taste of the rice.
When you’re ready to enjoy your tuna rice balls, simply remove them from the refrigerator, unwrap, and enjoy. If you plan to take them on the go, you can keep them in a lunch box or a sealed container to ensure they stay fresh until mealtime.
Top tip
Pan-fry the rice balls on medium heat for at least 5 minutes on each side. This will help you get that crispy, outer texture. Try to avoid flipping over back and forth so that rice balls stay intact.
FAQ
What is yaki onigiri?
Grilled rice balls with some kind of filling. Some people coat the outside portion of the rice balls with a sauce before grilling or pan-frying them. This step is optional.
Does it matter what kind of rice I use?
It’s recommended to use short-grain rice or medium-grain rice. The reason for this is that shorter-grain rice will adhere together better when formed into a ball since they are small pieces of rice in comparison to long-grain rice, like jasmine. I usually only have jasmine rice on hand and these rice balls have held together just fine every time that I’ve made them.
How Long Do Tuna Rice Balls Last?
If you store tuna rice balls in an airtight container or wrap them tightly in plastic, they stay fresh in the fridge for about 24 hours. Need them to last longer? Just freeze them and thaw them whenever you’re ready to enjoy them!
Are Tuna Rice Balls Vegan-Friendly?
The classic version uses tuna, but you can easily make a vegan twist with plant-based tuna, avocado, seasoned tofu, or shiitake mushrooms.
Can I Grill Tuna Rice Balls?
Absolutely! Brushing the rice balls with a bit of soy sauce and grilling them gives you a deliciously crispy outside while keeping the inside perfectly tender. It’s a simple trick that adds so much flavor!
Can I Use Leftover Rice for Tuna Rice Balls?
Leftover rice works fine, just reheat it with a splash of water to restore its stickiness!
Related
Looking for other recipes like this? Try these:
Tuna Rice Balls

Ingredients
- 2 cups white rice, cooked
- 1 can tuna
- 3 tbsp mayonnaise
- 1 tsp soy sauce
- 1 tbsp sesame oil
- 1/2 tsp salt
- black sesame seeds (optional)
Instructions
- Cook your two cups of rice. Add those 2 cups into a large bowl. Add 1 tbsp sesame oil and 1/2 tsp salt to cooked rice. Combine with a rice paddle if one is available. In another bowl, combine tuna, soy sauce and mayonnaise.
- Place a piece of plastic wrap over a small bowl and fill with rice. Remove plastic from bowl and twist into a ball. Next, you'll want to flatten the rice ball on a flat surface. Add about a tablespoon of filling to the center of the flattened rice ball. Gather all edges of the plastic wrap together and twist to form into a ball again. Repeat this process four more times. Optional: roll rice balls in dish filled with black sesame seeds.
- Set pan to medium heat. Once pan is hot, add in a few tablespoons of sesame oil. Add rice balls to pan and sear for at least 5 minutes on each side to get a nice, crispy outer texture. Add a few more minutes if you'd like rice balls to be a bit more golden. Serve over a salad or with your favorite veggies.